Monday, 4 February 2013

Photography tips & Tricks * EtsyMetal Blog Carnival

This month's EtsyMetal blog carnival is about photography tips and tricks. Here are some things that I learned either by trial and error or by searching the endless sources of the web.

1. Use a white box
The shadows and the shiny surfaces of silver usually were very harsh before I started photographing inside a white box. With the white box they look soft and natural. I made it my self, using a cardboard box and transparent paper. It's not high-tech, but it's very effective. It's very easy and I found the instructions online. Use the terms "diy white box" or "make your own white box" to find instructions like this

2. Natural light
I find it much easier to photograph my pieces in natural light rather than artificial. I put the white box and the piece in a position so that the light comes from the side and not facing the object.

 3. Use a reliable camera
I use a Canon PowerShot G11. I use it for some years now, and it has saved me a lot of time of corrections in the computer and has made these tasks simpler and quicker.

4. Color correction
Most photos need some color  and contrasts correction when I upload them in my computer and I usually use basic photoshop settings for this job.
To correct the color tone I use: Image → Adjustment →Auto Color.
To correct the lightness I go to: Image → Adjustment →Auto Levels. This is many times enough. If the photos need more adjustments I do them manually, using: Image → Adjustment →Curves until the lights and shadows of the image are balanced.

5. Backgrounds and styling
Well, this is a matter of personal taste of the maker and the result of experimentation with different ideas and materials. I prefer the settings to be neutral, so I have an assortment of different papers, from pale to deep grey.  I lay them inside the white box and curve them towards the top as they touch the back of the box, so that the background will be uniform.
I place my object on the paper and then I try to photograph it from different angles and show the back or any other detail that gives a more full picture of it.
If I need to use another object, as a support for example, I try to use something simple that does not distract from the jewelry or that enhances its idea (it can be an apple, a stone, a pebble or a pine cone).

Valentine Heart Earrings * jewellietta.etsy.com

Sweet House Earrings * jewellietta.etsy.com
 

I usually end up with 20 - 30 photos for each piece, from them I choose about 10 and then 3-5 which I finally upload.

6. Pieces on the body
When I can, I try to photograph the pieces worn, so that there's an idea of the scale of the piece and how it looks on the body. I take many shots (trying not to be very close ups) from which I chose 1-2 in the end.

3d Rose Earrings * jewellietta.etsy.com


These are the things that work for me. I'm very interested to see my teammates' tips and ideas and learn some new things:

Lou Hunter: http://peculiarforest.blogspot.fr/
Laura Jane Bouton: http://laurajanebouton.blogspot.it/
Mary Anne Karren: http://silverpearlmetalworks.wordpress.com/
2Roses: http://www.jewelrytutorial.blogspot.com
Nodeform: http://nodeform.blogspot.com/
Deborah Lee Taylor: http://www.e5jewelryblog.com
Abella Blue: http://www.abellablue.com/blog
Evelyn Markasky: http://www.evelynmarkasky.com/blog.html


Monday, 21 January 2013

Brooch a Week Challenge 2013 BAW52/1, BAW52/3

It has been a really long time, 3 or 4 years since I made a brooch. This is because I never wore them and never had an order for one. But since the beginning of this challenge I started to think about design ideas and the "brooch project" became more and more interesting. Until now I was thinking mainly rings and earrings, but brooches offer new possibilities. The brooches that I'm going to make will be more like test pieces (about materials, design and process) than finals. I'll try to explore them and continue this challenge each week until the end of the year. 

Since I didn't post my first brooch when I made it, I will write a few words now.
BAW 52/1 - Leaf Brooch
On week-1 I made a leaf inspired brooch.  I used silver and plexiglass and used rivets to connect the two parts together. I like how it turned out and I love the transparency of plexiglass but I'm not sure if I will use it again many times. The reason is that when plexiglass is sawed or filed it produces a very thin dust. It sticks everywhere. And even if I wear a mask for protection I feel a little cautious about it and not very comfortable working with it.
This is my first brooch:


BAW52/1
Leaf BroochJewellietta
Sterling silver and plexiglass.
Soldered and riveted.

BAW 52/2
I missed this one grrrrrrr

BAW 52/3 - Tiny Garden Brooch
For this week's brooch I continued to use plants and flowers as inspiration. Also this time I wanted to make a 3-dimensional piece. So I built a rectangular metal fence (or wall) and I put little copper flowers with swirling stamens to crawl on top of it. For contrast I oxidized the fence and left the flowers with the natural colour of copper and silver. I enjoyed making this brooch very much, I like 3-dimensionality in jewelry and I'll try to incorporate it more in my pieces.


BAW52/3 
Tiny Garden Brooch Jewellietta
Sterling silver and copper.

BAW Challenge is a year-long project for 2013, created by the EtsyMetal Team
It is open to everyone! See what we do and join the flickr group: Brooch a week

Thursday, 20 December 2012

Two EtsyMetal Treasuries

My Silver Swarovski Earrings and the Druzy Ring were featured in two etsymetal treasuries these days, among many beautiful jewelry pieces.

This ones is curated by Lou Hunter of Peculiar Forest


and this is curated by Rebecca Bogan of AdobeSol.


I love the variety of design and the styles. Simple, minimal or luxurious they are all elegant and finely crafted.

Saturday, 15 December 2012

Etsy Picks: Surprising Boxes ~ Treasury

Interesting boxes and containers, big or tiny, that hide little treasures or are treasures themselves.

Wednesday, 12 December 2012

An Etsy Treasury: The Gift of Giving

Giving a gift to others is giving one to ourselves too, it makes our hearts lighter and our days brighter : )
I made a list of some beautiful gifts and objects for the holidays. They can be simple as a lollipop or precious as a jewellery piece and they are created by EtsyMetal team members and other talented artisans.


This is part of an EtsyMetal treasury challenge.

Many of my teammates made treasuries based on this theme. Take a look, you may find a hidden treasure!

The Gift of Giving by Erin
Now's the time that we need to share by GeckoJ
The Joy of Giving by AdobeSol
The Joy of Giving by Wildflowerdesigns
The Joy of Giving by Maria Goti
Perfect! for my sister, niece, aunt, girlfriend or me by Su
Perfect! for my man by Su


Saturday, 17 November 2012

New Earrings

This is my new creation, the Curvy Boho Earrings with Amethyst.
I love working with curvy shapes. These earrings are made from a solid silver piece, but the curves  give them fluidity and motion. They are oxidized, except for the tiny silver drops that I placed at the edges of the curves. The gemstones are amethysts (lab-created) and their deep, purple color is one of my favorites.


You can find out more about them here.

Monday, 5 November 2012

EtsyMetal Blog Carnival: «Why do you make jewelry?»

It's the first Monday of November, time for the EtsyMetal Blog Carnival.  
Team members write on a common theme. This time it is: «Why do you make jewelry?»


Well...
First of all, I love the whole DESIGN process. It gives me the opportunity to explore interesting themes (art history, sea life, comics, emotions, buildings, anything!) and translate them into pieces. I collect information and images in my mind, I let them develop for several days and make connections. Sometimes I make a lot of sketches, while others I have a more intuitive and direct approach.
All this, combined with the limitations (the piece has to be wearable, and metal or any other  material has it's own qualities that have to be taken into account), make a nice challenge.

The FABRICATION part has it's own charm: I love working with metal and as time goes by I learn more things and I slowly build my own studio. Jewellery making means spending a lot of time alone in the studio, and I love being in there, concentrating on my projects and getting creative with materials and tools.

I also like jewelry's SMALL SCALE because it makes it so easy to have a personal object always on your body. And of course it makes me really happy when people wear my pieces. Although there's no practical reason to wear it, it fills the need for EXPRESSION either by creating, wearing or offering it. It can be much more than simply body decoration.

And for me it is a way to convert my ideas, concepts, interests, images into tangible 3d objects.


In making jewelry, I love the journey of transformation
from the flat piece to the final object.


It's really interesting to see my teammates' thoughts about it:
Cynthia Del Giudice - http://CynthiaDelGiudice.blogspot.com
Laura Jane Bouton - http://laurajanebouton.blogspot.it/
silentgoddess http://silentgoddess.blogspot.com
Beth Cyr http://bcyrjewelry.blogspot.com
Peculiar Forest http://peculiarforest.blogspot.com
Tosca Terán http://www.nanopod.me
Nodeform http://nodeform.blogspot.com
Mary Anne Karren: http://silverpearlmetalworks.wordpress.com/
My Precious Studio: http://mypreciousstudio.blogspot.com/
Deborah Lee Taylor: http://www.e5jewelryblog.com
2Roses: http://www.jewelrytutorial.blogspot.com
Anne Walker: http://www.creativeinclinations.blogspot.com
Andrea Ring http://www.amuckdesign.blogspot.com
Gracebourne Design http://www.gracebourne.blogspot.com
Danielle Miller http://daniellemillerjewelry.blogspot.com/
Evelyn Markasky http://markasky.blogspot.com
Inbar Bareket http://www.inbarbareket.info/blog
Abella Blue - http://www.abellablue.com/blog


Saturday, 3 November 2012

At the bench: "BOXED" ring

After a long time... here is my new piece. I made it for the November challenge of the EtsyMetal team I'm a member. I'll try to participate in challenges as much as I can, it's a great way to refresh the designs and make new things.
The November theme was: Design with a letter.

I tried to "translate" the meaning of a word into a 3d object using the letters of the word. I created a box with sides made of the letters b-o-x-e-d  with a little copper flame trapped inside it. The ring shank is  square, to follow the style of the "boxed" idea.


On the bench:
~ I decided what  font I would use (I wanted something bold and steady) and then I made some draft paper models to check the proportions and size of the box.
~ During fabrication, it was a tricky task to file the silver precisely along the lines where the sides of the box would fold, so that they all would be at straight angles with each other. An accidental change of direction of 1 millimeter can affect the alignment drastically.
~ After soldering the box and making the shank, I connected them with a thick silver wire. As a final step I started to remove the extra silver from the box's base, happy with the way it turned out, but suddenly the whole box fell off. The reason is that the solder between the wire and the box hadn't run properly, so the bond was weak.  I must have used less temperature than needed and I had to solder them again.


a. I made very "basic" paper models to get an idea of the shape and size.  
b+c. Securing the sides of the box for soldering.  
d. The solder between the wire and the box was weak and as a result 
it broke later while I was removing the extra silver from the box's base.


I love how it turned out, and another one will soon be available in my etsy shop.
After making many light, curvy pieces, it was a nice change to make a bold, geometric object.

★ Opinions, questions and comments are welcome ★

Saturday, 25 August 2012

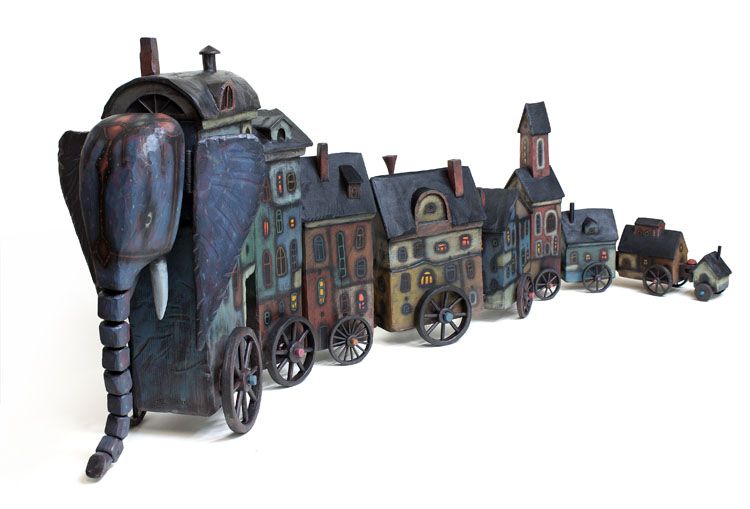
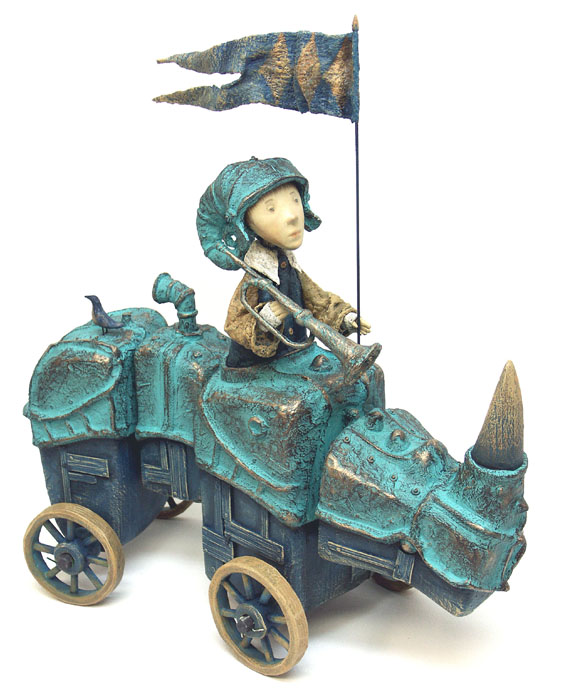
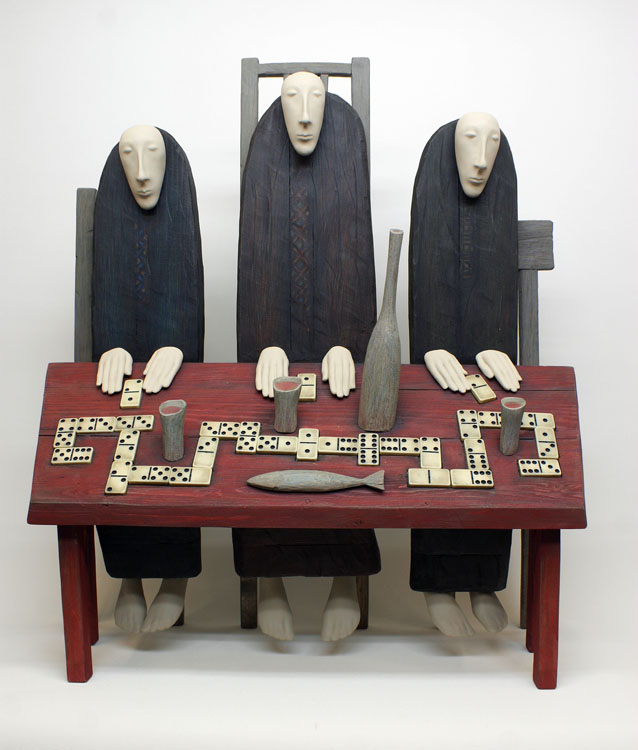
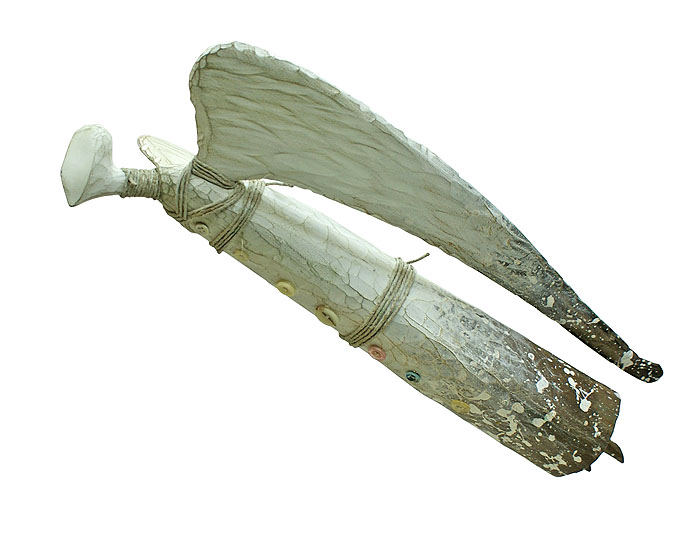
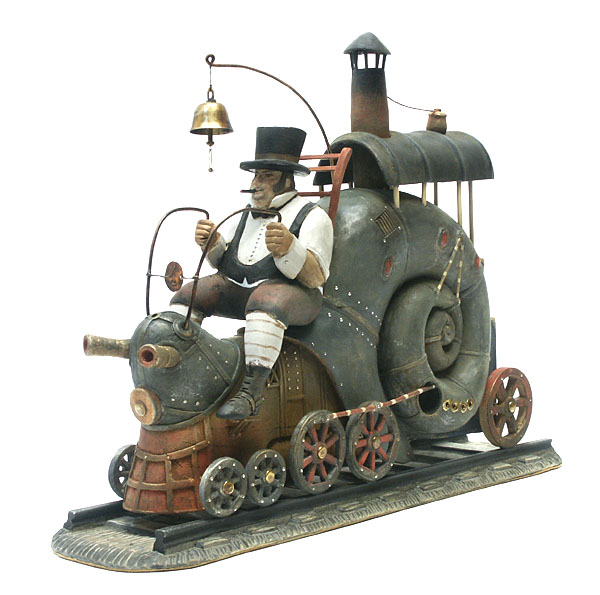
Inspirational works: владимир гвоздев & gvozdariki

A beautiful animation that I found today:
Dream
Amazingly simple and beautiful, speaks to the heart and mind.

Take a look here at this artist's other works, they are so inventive and versatile! Paintings, illustrations, 3d objects, dolls and animations, some have a story to tell, and others hide their own little secrets. The site is in Russian, but you don't have to know the language to explore and enjoy your journey in this strange imaginative world. Dream on!


Tuesday, 14 August 2012

Inspirational: Asian Miniatures

These are some amazing portraits of Mughal emperors and Hindu gods, made between 1600 - 1700. I admire how they combine attention to detail and simplicity. The colour pallette, the patterns on the clothes and backgrounds, the delicate lines and shapes, the expressions on the faces; they all tell a unique story in each of these paintings. They are a pleasure to look at, and so inspiring for study and experimentation.


I found them at BibliOdyssey among many other great pencil and watercolour illustrations.


Sunday, 29 July 2012

Two reasons to smile : ) - 2

2  : )
I'm also a member of the Aspiring Metalsmiths, a team of metalworkers and jewelry makers of all levels that help each other by sharing information and encourage each other to work on improving themselves. Every month there's a challenge, and the winner of one month sets the theme for the next and so on. Last  month's theme was «Road Trip».  I remembered a childhood trip, which inspired me to create a piece for the challenge. And about a week ago, I received a mail that I was the winner! Of course it's not only the winning, but the feeling that people who might never meet each other show appreciation and support for each other's work! Each of the pieces had a personal approach to the subject and different ways of fabrication and materials. Each of them was unique! Here they are:


Wabi Brook Studio copper pendant


A&J Jewelry Designs ring with garnet and gold


and mine (Jewellietta)


Here's the memory that inspired my piece: "When I was a child, in the summers our family would travel from Athens to Katerini, the hometown of my father. The trip lasted 7-8 hours. On a certain part of the route, after some time of moving through flat fields, there was an alley of very tall trees on both sides of the road. The trunks created shadows, the branches made an arch and the sun was showing through the leaves. For some meters I felt like we were passing through a magical world. I wanted to recreate this atmosphere and also I wanted the jewelry to resemble a toy, because this is a childhood memory. So I made the car move back and forth on a rail, in this small alley of silver trees. The whole piece is made of 925 sterling silver, the different parts are soldered and it is hung from a rubber cord."

Each piece has a very interesting story. Visit the Aspiring Metalsmiths blog to find out more about the pieces and their creators, and see the theme I chose for the next challenge!

Two reasons to smile : ) - 1


This place has been abandoned for some time... This period, my day job is very time consuming and afterwards I try to find some hours to work with my jewelry. No time for blogging. But recently two things happened, that made me smile and encouraged me and I want to share them here!

1 : )
I am now a member of the Etsy Metal Team! They are all metal workers, making jewelry and objects using traditional techniques in great a variety of designs and styles. It's a source of inspiration, knowledge and support! 

***

FROM THE TEAM'S PAGE:
Etsy Metal is an international collective of artisans who create jewelry and works of art in metal. The group carries the traditions of handmade craftsmanship into the 21st century, often using the same tools and techniques that have been part of our trade for thousands of years. 

The Etsy Metal mark is your assurance of hand made craftsmanship, quality, and that the artist follows ethical trade practices. 

You can easily find Etsy Metal artists anywhere in the world by entering “Etsy Metal” into your web browser, or by visiting etsymetal.com. We encourage you to visit our member’s shops, and to look for the Etsy Metal mark when you shop online or at craft events. 

***

Sunday, 17 June 2012

Hellenic Elections Day

Whatever the result, the years ahead of us are going to be difficult. There are no certainties. So we shouldn't vote driven by fear, or anger, or punishment but by dignity. I only hope that the majority will not vote for those who brought Hellas to the road of disaster.

Friday, 15 June 2012

Inspirational works: Emily Cobb

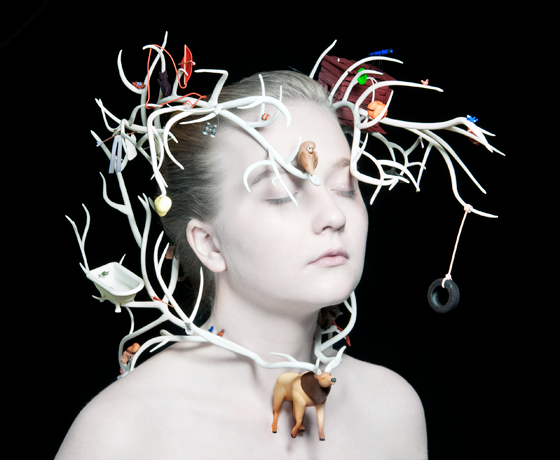
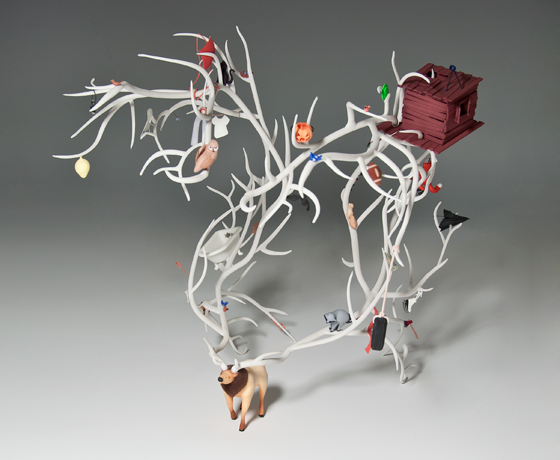
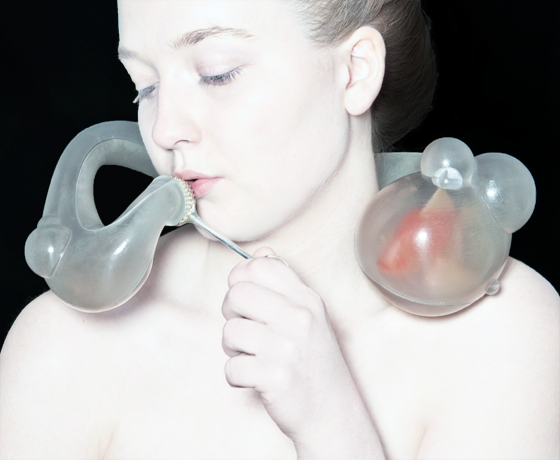
When I first saw her work the strange beauty of her pieces  immediately caught my attention. They have a  personality of their own, even if they are not worn. When they are on the body, it seems like they evolve from it, connecting the tangible reality with an invisible world that exists in and around the body...  The photos seem to have captured the moment when a part of this world is materialized.


"Billy watched anxiously as the bubble blew away 
from his wandand drifted into the air. Up... up... up it floated 
with the fish still floating inside."


Some of the pieces are followed by a small text that gives hints or adds mystery to the story that each piece describes. 
She has created many more beautiful pieces and stories. Discover them in her  website and in here.

Sunday, 27 May 2012

Riveted Ring with Chalcedony Druzy II

This is my second Icy Lake Druzy Ring, a little bigger than the first!

Except for the beautiful druzy chalcedony stone, the main feature of this ring is the use of rivets. I am very impressed with riveting, because it has so much potential both as an element of design and as a technical solution. Also I found the riveting procedure relaxing (after practicing a lot of times to find my pace)!
I want to use this technique in more rings and other kinds of jewelry.


- You cal also visit my shop to find more photos and info on this ring.


To make it, I traced the druzy on a piece of paper and drew freeform shapes around it, for the base and the «cover» of the stone. When I was happy with the shapes, I sawed them from sterling silver sheet. I also sawed the ring shank and the bezel.
Next I filed and sanded everything. I prefer to file and sand the different parts before soldering, as it is much more easier to reach all the spots that afterwards may be hidden in narrow or awkward places.
After that I soldered the different parts together except the cover. I put the stone in the bezel and finally I riveted the cover on the top. This way the stone is protected and secured. Also it lets the light to reach the druzy from the sides.


If you make jewelry, what is your experience of riveting? What kind of pieces have you made? I'm sure the variety of riveted pieces is enormous!

Friday, 25 May 2012

Holy Geometry

This is an etsy treasury featuring some really beautiful geometrical objects, and I'm very happy my earrings are among them! I like the mix of manmade and nature-made forms, the calm grey tones throughout the collection and the organic feel. You can click on any of the items to learn more about it.
The treasury is curated by tuliManna, the maker of some very pretty, colourful, fluffy pillows.


Sunday, 20 May 2012

New Geometric Earrings

Brand new listing in my Etsy shop!
I made a pair of geometric earrings with a form rendered from a folded piece of paper. It is a simple design but it is 3 dimensional. This makes it's shape look different depending on the angle from which you look at it. The light reflects on its faceted surface making some sides look dark while others shine.


HERE is the full listing with more photos and information. Let me know what you think : )


Friday, 18 May 2012

Etsy Lush May Treasury

These objects, all from Etsylush website, were my inspiration for a spring treasury! I love the blue-green-yellow-grey color variations of these objects, I think they manage to be playful and calm at the same time! Unusual combination, don't you think?


Click on any of the photos above if you want more information about an object!

Thursday, 17 May 2012

Silver + Copper = Love For Ever

The love affair of silver and copper leads to a happy marriage:
Marriage of metals is a technique that can produce some really interesting and beautiful results (look at thisthis and this).

Two or more different types of metal are sawed and filed so that they fit perfectly one into (or, in an easier version, next to) the other, like the pieces of a puzzle. Then you solder them and finally sand them until no sign of solder remains on the surface of the piece and a beautiful contrast is achieved.

I made a bracelet with this technique about 5 years ago, while studying at my teacher's studio. Now, trying to refresh what I learned, I made a simple design based on my Triangle Geometric Earrings.

I am very happy with the result, but I spent considerable time sanding both sides of the earrings to get rid of every sign of solder. I hope that the amount of time will be reduced as I obtain more experience and control on this method... I'll have to make some more to find out!


Comments and questions are welcome : )

If you are a maker, what is your experience with this technique? 

I'd really like to know what you think and share ideas and information!


Saturday, 12 May 2012

Blue Chalcedony Drusy Riveted Ring

This is one of my most recent pieces that I really enjoyed making, and it was one of my first attempts to use rivets. I learned the procedure many years ago, but I never used this technique for my pieces until know. I made it for a challenge of the Aspiring Metalsmiths etsy team that I participate in. The stone is a chalcedony drusy that my sister brought me from a trip to Turkey. The sparkling surface of this stone reminds me of frozen waters and icebergs, so I'll call it the «Icy Lake Ring». Now my sister swims in this lake, because I gave it to her as a present! I have one more beautiful chalcedony stone, and I'm in the process of making a new Icy Lake Ring. I'll post the finished ring on the following days...


And here are some more views of this ring